
Photo: Frank Grebstad
Unlike the first trip to Powell Island that revolved around instrumenting penguins, we are now tasked with working on Antarctic fur seals, the pygoscelid penguins (Adelie, Chinstrap and Gentoo’s) and southern elephant seals. Consequently, our days are naturally varied, as the work we are able to do is dictated by the weather conditions. I shall go through in increasing order of complexity the processes by which we collect data on these animals
Southern Elephant seals:
Step #1: approach the front of a sleeping 500-1,500kg adult male elephant seal with a pair of tweezers
Step #2: secure tweezers around one whisker, and pluck.
Step #3: move backwards very quickly as the (now wide-awake) elephant seal wonders what the hell you are doing.
Simple. But it is a test of nerve to walk up to an enormous animal with very large teeth armed with nothing but tweezers. However, the information we get from the whisker is considerable; using chemicals that are deposited in the whisker as it grows, we are able to determine what and when (to within a few months) the animal ate. This is crucial information, as these animals spend over 9 months a year at sea and are therefore extremely hard to observe.
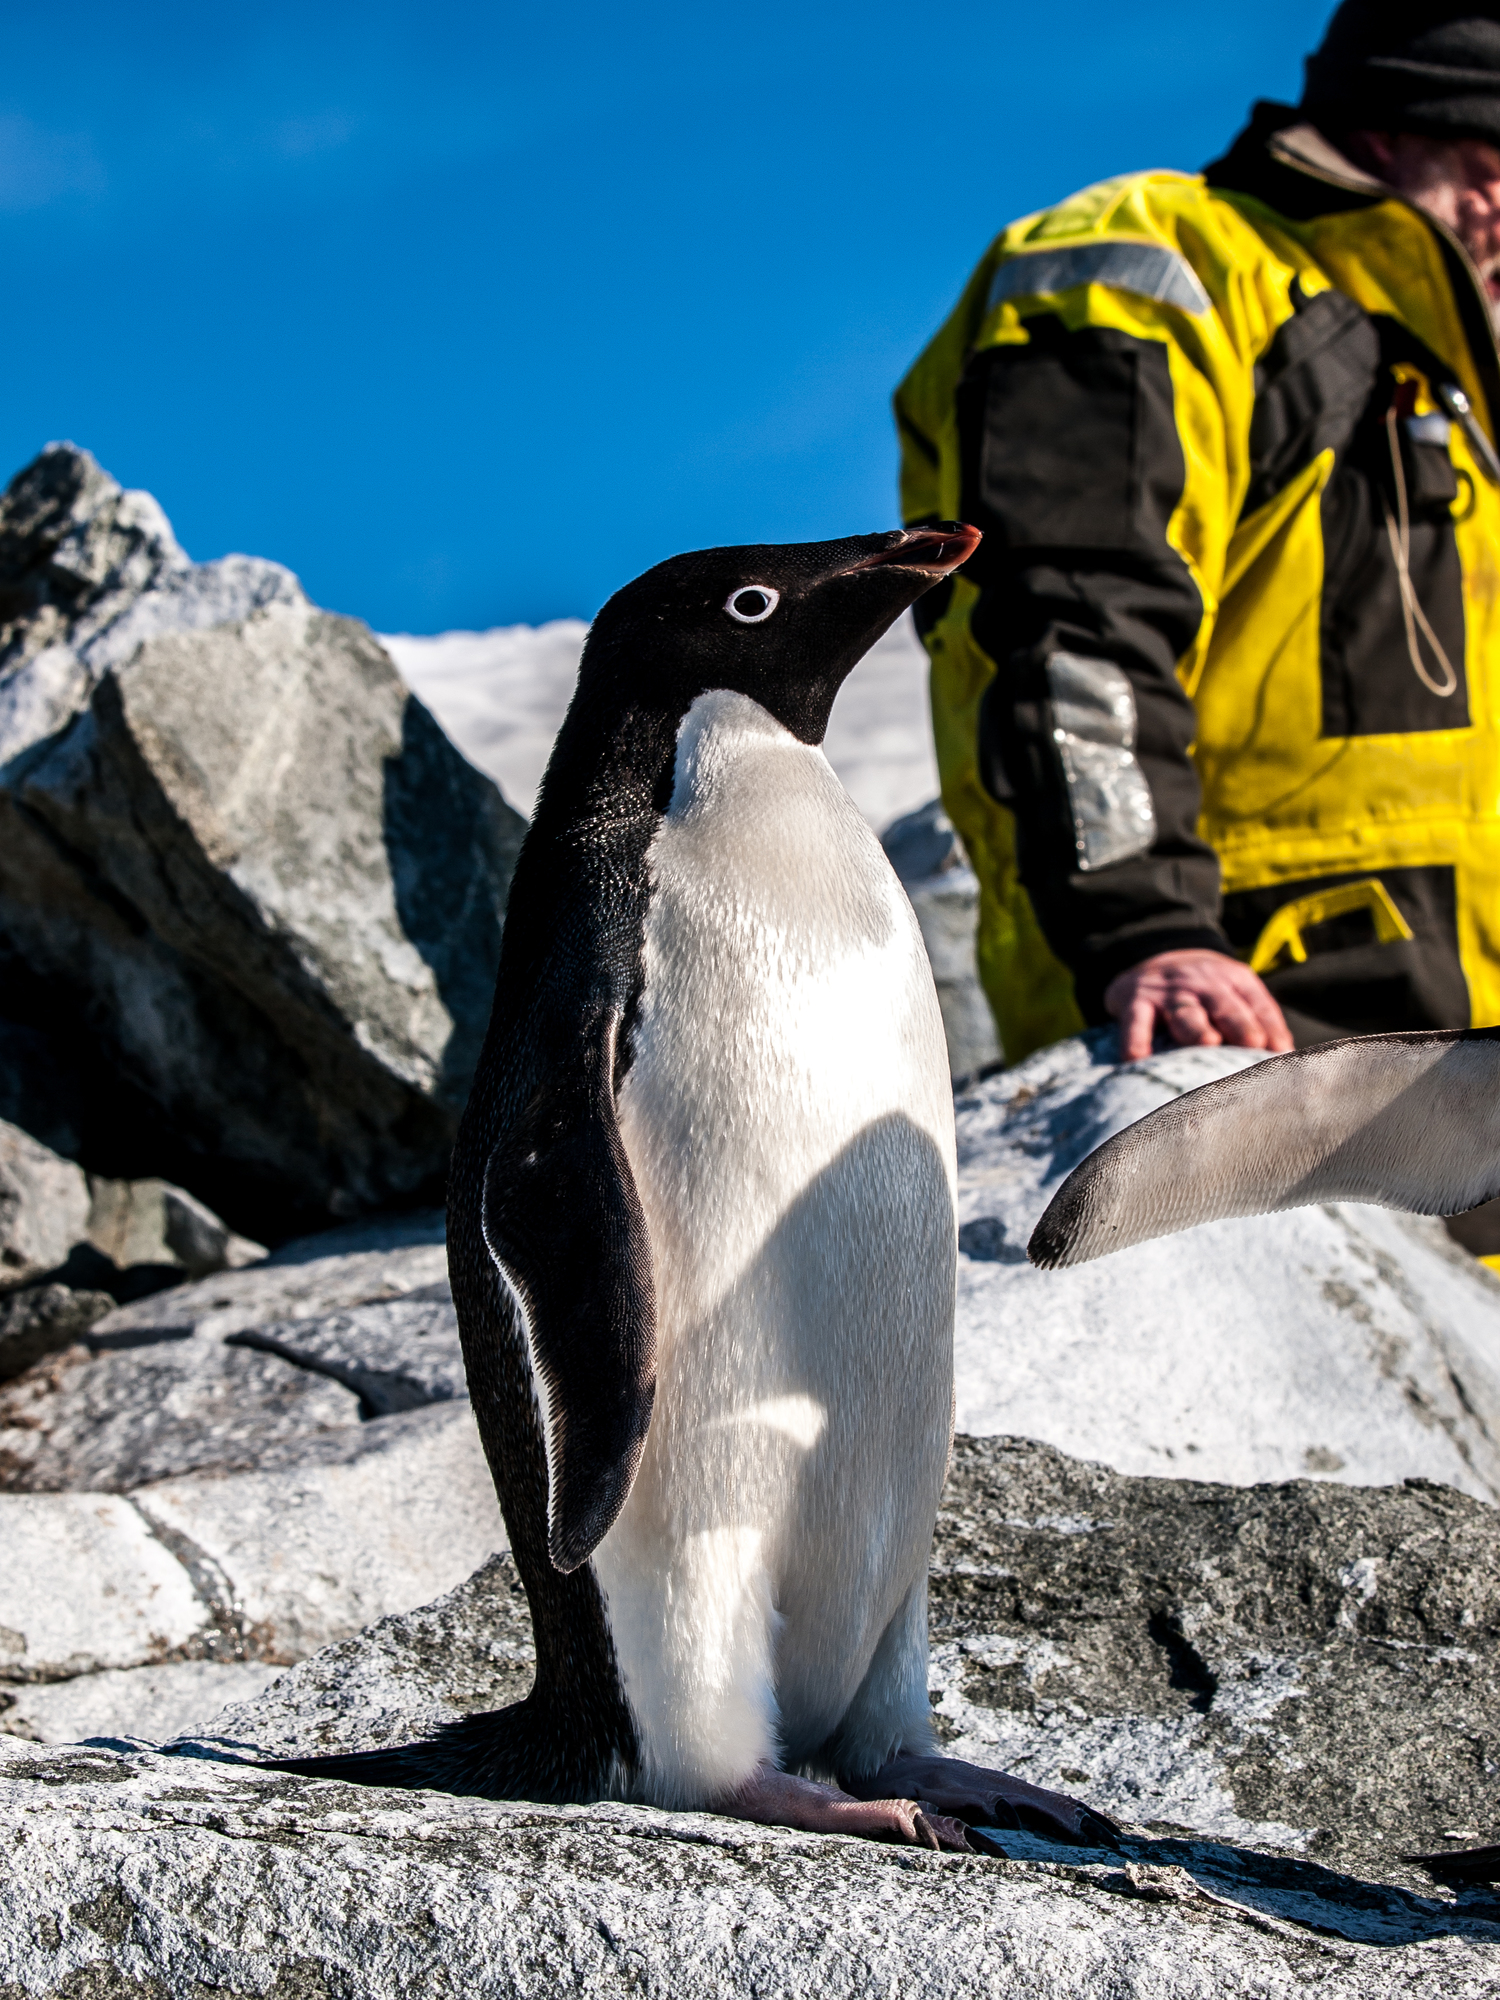
Penguins (all):
Step #1: Pick up a penguin. Preferably not an angry one, but calm ones are quite rare.
Step #2: Attach transmitters to the back of the penguin (GPS and dive recorders, both combined are about the size of a small box of matches). This requires a small amount of superglue, some waterproof tape and is generally completed in under a few minutes.
Step #3: Release for 5-10 days
Step #4: Recapture the penguin (by spending many hours stood freezing next to a penguin colony until it decides to come back home, then run around like an idiot trying to catch something that can outsprint you and is only 40cm tall).
Step #5: Remove the devices
Step #6: Repeat at least 40-50 times on individuals from each species throughout the two month period, so you cover the three stages of breeding (egg incubation, chick care and chick fledging)
When the penguin is recaptured we also take a small blood sample, to help us describe what the individual ate during its foraging trip using the same chemical markers as found in the elephant seal whiskers. The information from the blood combined with the location data forms a very powerful dataset telling us where and on what the penguin ate at very fine scales.
Post-breeding male Antarctic fur seals
Instrumenting these animals is the most complicated procedure we do, and consequently required the best weather conditions – why will become very apparent.
Step #1: select a suitably-sized (sleeping) adult male fur seal, weighing between 100-200kg. At a distance of 20-30m, use a dart gun to remotely-inject the animal with a sedative. Allow 5-10minutes for the drug to take effect before approaching the animal.
Step #2: approach with a portable gas anesthesia machine, a capture net and a very large stick. Hopefully, if you have given the correct (weight-determined) dosage the animal will be sufficiently sedated that you can simply place the anesthetic mask on and maintain the level of anesthesia. If you haven’t, then you have a bit of a struggle with a very unhappy seal, a net, and three grown men trying to physically restrain the animal and complete the sedation. In very cold weather, the gaseous anesthetic would not vaporize efficiently, so we were unable to work.
Step #3: once the animal is sufficiently immobilized, including a comprehensive set of health checks (to ensure the plane of anesthesia is not too deep, that the animal is not suffering respiratory distress), we can move onto instrumentation. A two-part epoxy glue is mixed and a “footprint” of glue the size of the base of the transmitter is applied to the back of the seal, between the two foreflippers. The instrument is then glued in place on the back, and the glue allowed to set (which can take up to 45 minutes if the air temperature is cold enough). While the glue is setting, a whisker is clipped from the face of the animal and a blood sample taken from its hind flipper.
Step #4: after the procedure is complete, the anesthesia is stopped and the animal allowed to recover. We watch the animal until it has completely recovered, as other males nearby tend to like picking fights and we must protect the instrumented individual until it is capable of defending itself. One procedure can take up to two hours to complete, and you can’t relax for a second. We had 30 animals to instrument, so this was by far the most intense of our activities.
Being a field ecologist requires you to be able to adapt and modify equipment and procedures based on the conditions you experience, and to have the common sense and experience to know when not to push it. In spite of how simple my outlines appear, it’s an intensely complicated set of procedures we have to perform – all the time remembering these are wild animals and that we need to keep disturbance levels to a minimum. The weather doesn’t make things any easier, with at best not working optimally and at worst simply not bothering to work at all. No two sets of circumstances are the same, and to paraphrase, “the only easy day was yesterday”